Download and Install NurWedge for Windows v1.1.8
Note: To save the configuration, please run NurWedge.exe as an administrator from
C:\Program Files (x86)\Nordic ID\NurWedge
Connecting HH8x into to NurWedge App via Wifi
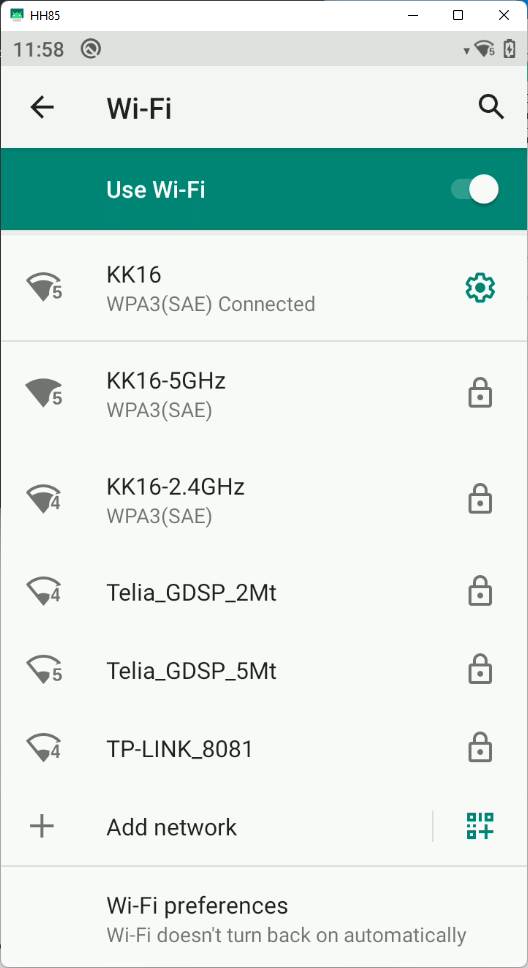
Ensure that your HH8x is connected to the WiFi network. Go to HH8x's WiFi settings, and select the connected WiFi network. Please open it and expand the Advanced section to get an IP address (in my case, it's 192.168.1.105):


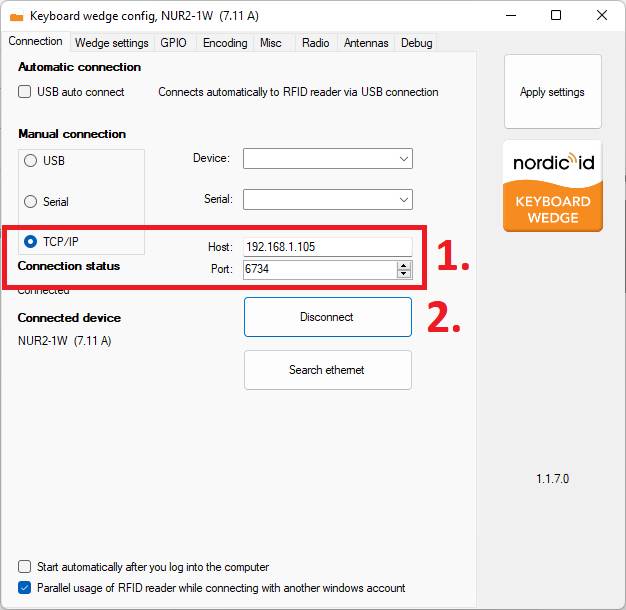
Launch the installed NurWedge application, select TCP/IP, type HH8x's IP address to the Host and set Port to 6734. Then click Connect button.
Note: To apply and save the setting, run NurWedge.exe as an administrator from
C:\Program Files (x86)\Nordic ID\NurWedge
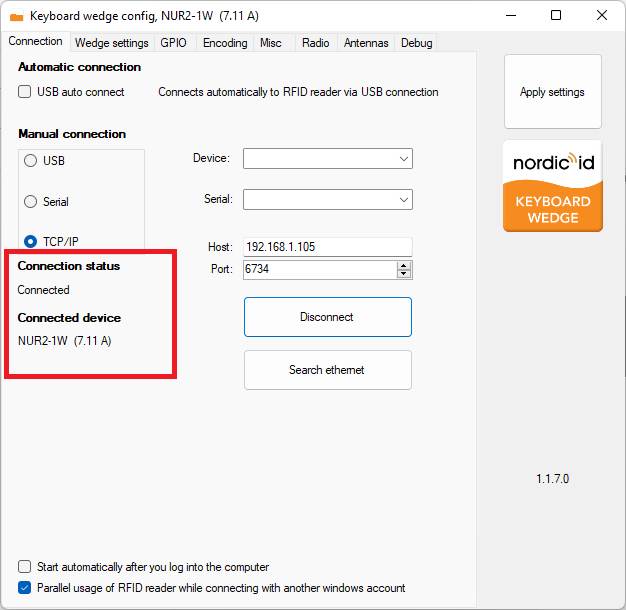
When the connection is established, you should see the following status info:
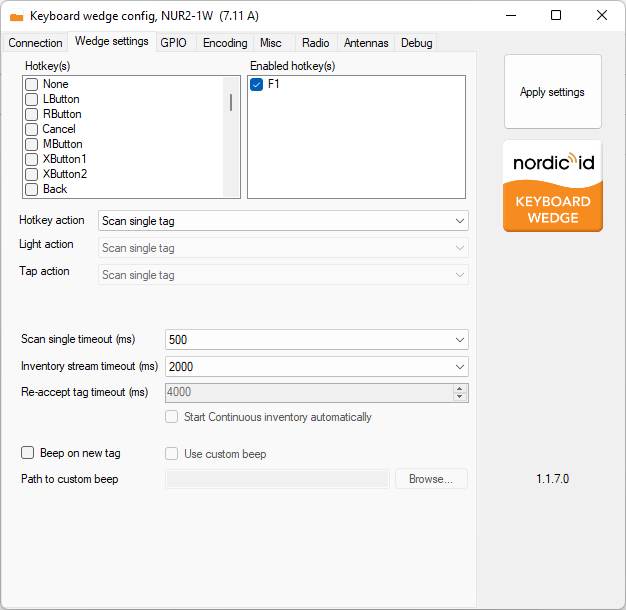
From this screen, you can configure HotKey and HotKey action:
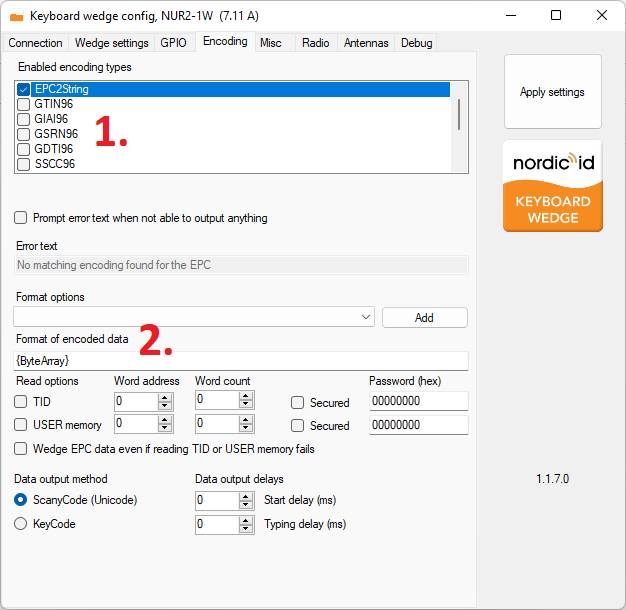
From the following screen, disable all other encoding methods except EPC2Stings. "Format of encoded data" controls which information the NurWedge sends. {ByteArray} send EPC as HEX codes while {ASCIIEPC} converts EPC to ASCII characters:
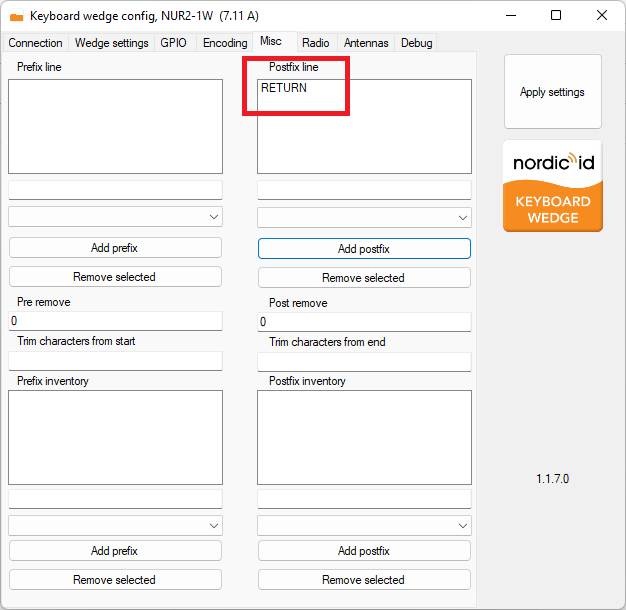
This hits Enter key after the sent code:
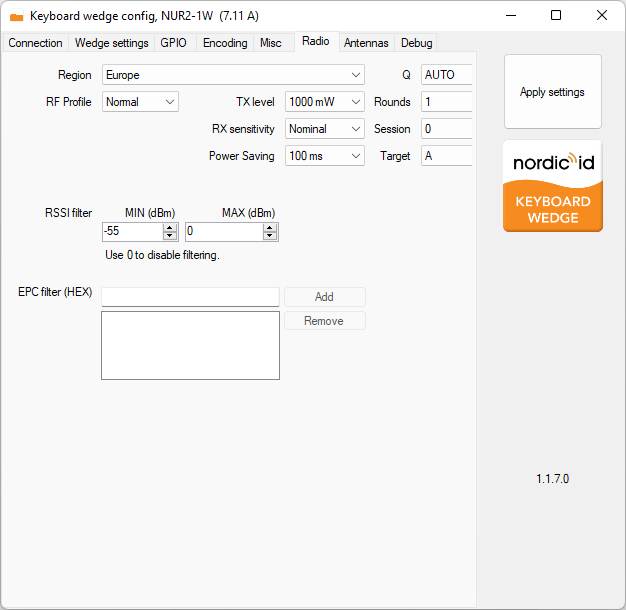
Here you can control RF parameters:
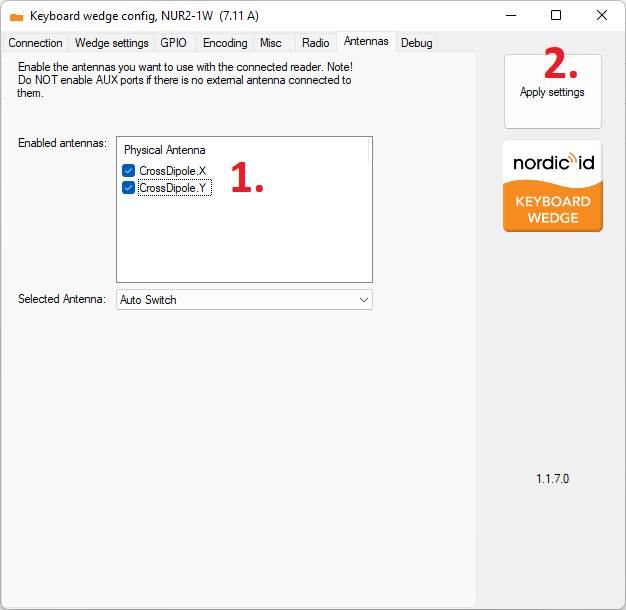
Here you can select the antennas that you are going to use. Finally, click "Apply settings":
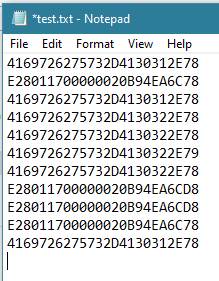
You should receive EPC to, for example, Noted or Excel while you press the HotKey (F1) button or by pressing HH8x trigger button.